Ethernity Docs
  • Welcome to Ethernity CLOUD
  • Getting Started
  • Ethernity Node Quick Start
    • Hardware Requirements
    • BIOS Settings
    • Supported Platforms
    • Blockchain Settings
    • Security Considerations
    • Installation
  • Ethernity Client Quick Start
    • Platforms and dependencies
    • Blockchain Settings
    • Security Considerations
    • Installation
  • ethernity node
    • Prerequisites
      • Hardware with SGX Support
      • Check SGX Support
      • Installing Linux
        • Download
        • USB Installation Media
        • Ubuntu 18.04 LTS
        • Ubuntu 20.04 LTS (Recommended)
        • Ubuntu 22.04 LTS (Experimental)
        • SSH Connection
      • Blockchain Wallets
    • Download
    • Installing the Node
    • Update the node
    • Configuring the Node
      • Select the network
        • Mainnet on Bloxberg
          • ETNY on Bloxberg
        • Testnet on Bloxberg
          • Data Processors
          • Bloxberg (BERGS)
          • tETNY on Bloxberg
          • tETNY Faucet
        • Mainnet on Polygon
          • ECLD on Polygon
        • Testnet on Polygon (MUMBAI)
      • Task execution price
      • Resources configuration
    • Monitoring the Node
    • Troubleshooting issues
    • Firewall Rules
    • Proof of eXecution
      • Blockchain Metadata
      • IPFS
    • Node Reset
      • Node Connect
        • DHCP
        • Static IP
        • Console
      • Change Password
      • Node wallets
  • Mainnet
    • Mainnet on Bloxberg
    • ETNY on Bloxberg
    • Mainnet on Polygon
    • ECLD on Polygon
  • TESTNET
    • Data Processors
    • Bloxberg (BERGS)
    • tETNY on Bloxberg
    • tETNY Faucet
    • Polygon (MUMBAI)
  • Developer Guide
    • Introduction
    • The EC Protocol
      • Data flow inside EC
    • The GUIDE
      • Environment Prerequisites
      • Step-by-Step dApp
  • ENS Domain Registration
    • Introduction
    • ENS Smart Contract Details
      • Polygon Mainnet
      • Bloxberg Mainnet
    • Registration Steps (ENSRegistrarController)
  • Ethernity Client
    • Prerequisites
      • Python 3.6+
      • git
      • Blockchain Wallet
    • Download
    • Running the Client
    • Configuring the Client
    • Proof of eXecution
      • Blockchain metadata
      • IPFS
  • Ethernity Smart Contract
    • Data Owner API
    • Data Processor API
  • Wallet
    • MetaMask
    • Installation
    • New Wallet
    • Restore Wallet
    • Wallet Validation
    • Contract Upgrade
    • Receive ETNY - Optional step
    • Send ETNY - Optional step
    • Change RPC URL
  • Public Sale Buying Journey
    • Round 1
      • Interest Registration
      • Public sale start
      • Queue placement
      • Crypto (USDT) payment
      • Bloxberg receiving address
      • Troubleshooting
    • Round 2
      • ❗VERY IMPORTANT
      • Interest Registration
      • Login
      • KYC - R2
      • Queue placement
      • Payment Options
        • USDT
        • Coin Payments - Crypto
        • Coin Payments - Paypal
    • Round 3
      • ❗VERY IMPORTANT
      • Interest Registration
      • Login
      • KYC
      • Package Selection
      • Payment Methods
        • DIRECT
          • USDT - ERC-20
          • USDT - TRC-20
          • USD - Polygon
          • BUSD - BSC
        • COINPAYMENTS
        • PAYPAL
        • CEXs and Hot Wallets Withdraw
          • Binance
          • Coinbase
          • Kraken
          • MetaMask
          • Trust Wallet
        • Receive ETNY
  • Staking dApp
    • Intro
    • Node address and private key
    • Import private key
    • Connect wallet to dApp
    • Change connected wallet
      • Disconnect wallet address
    • Staking dApp homepage
      • Account
      • Pending
      • Approved
      • Terminated
      • Marketplace
    • Base stake
      • Create base stake
      • Approve base stake
    • Extended stake
      • Create extended stake
      • Apply for an extended stake
      • Approve extended stake
    • Open Beta Staking dApp
  • SWAP dAPP
    • Intro
    • Create Account
    • Login
    • KYC
    • Setting up the profile
    • Dashboard
    • Confirmation
    • Sign transactions
  • LIQUIDITY PROGRAM
    • Liquidity Supply Guide
    • Connect wallet
    • Select range
    • Choose contribution
    • Viewing pools
    • Remove liquidity
  • Hardware Affiliate Program
    • Intro
    • Hardware Affiliate
      • Create Account
      • Login
      • Dashboard
      • Generate codes
      • Upload Codes
      • Profile information
    • Node operator
      • Register
      • Login
      • KYC
      • Activate Device
  • Contact
    • Social Media
Powered by GitBook
On this page
  • Creating USB Installation Media
  • Using Windows
  • Using Ubuntu UI
  • Using Ubuntu Console
  • Installing Ubuntu

Was this helpful?

  1. ethernity node
  2. Prerequisites
  3. Installing Linux

USB Installation Media

PreviousDownloadNextUbuntu 18.04 LTS

Last updated 2 years ago

Was this helpful?

Creating USB Installation Media

In order to install Ubuntu via a USB stick you will have to create a bootable USB stick containing the Ubuntu OS as shown below. The guide below applies for both Ubuntu 18.04 and Ubuntu 20.04.

Using Windows

We recommend creating a bootable Linux USB stick on a Windows system utilizing Rufus.

Downloading Rufus

You can download Rufus from the official website of Rufus at

Go to the official website of Rufus from any web browser and the following will be displayed:

Creating an Ubuntu 18.04 LTS Bootable USB with Rufus

NOTE: Rufus will delete everything from your USB device. If you have any important data, please move it somewhere safe before you go through this process.

Using Ubuntu UI

Please follow the steps shown below:

1. Overview

With a bootable Ubuntu USB stick, you can:

  • Install or upgrade Ubuntu

  • Test out the Ubuntu desktop experience without touching your PC configuration

  • Use tools installed by default on the USB stick to repair or fix a broken configuration

Creating a bootable Ubuntu USB stick is very simple, especially from Ubuntu itself, and we’re going to cover the process in the next few steps.
2. Requirements

You will need:

  • A 4GB or larger USB stick/flash drive

  • Ubuntu Desktop 14.04 or later installed

  • An Ubuntu ISO file.

3. Launch Startup Disk Creator

We’re going to use an application called ‘Startup Disk Creator’ to write the ISO image to your USB stick. This is installed by default on Ubuntu, and can be launched as follows:

  1. Insert your USB stick (select ‘Do nothing’ if prompted by Ubuntu)

  2. On Ubuntu 18.04 and later, use the bottom left icon to open ‘Show Applications’

  3. In older versions of Ubuntu, use the top left icon to open the dash

  4. Use the search field to look for Startup Disk Creator

  5. Select Startup Disk Creator from the results to launch the application

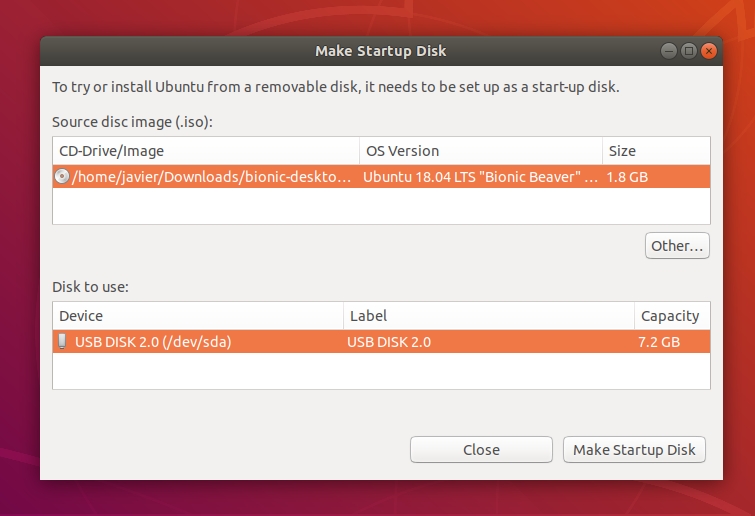
4. ISO and USB selection

When launched, Startup Disk Creator will look for the ISO files in your Downloads folder, as well as any attached USB storage it can write to.

It’s likely that both your Ubuntu ISO and the correct USB device will have been detected and set as ‘Source disc image’ and ‘Disk to use’ in the application window. If not, use the ‘Other’ button to locate your ISO file and select the exact USB device you want to use from the list of devices.

Click Make Startup Disk to start the process.
5. Confirm USB device

Before making any permanent changes, you will be asked to confirm the USB device you’ve chosen is correct. This is important because any data currently stored on this device will be destroyed.

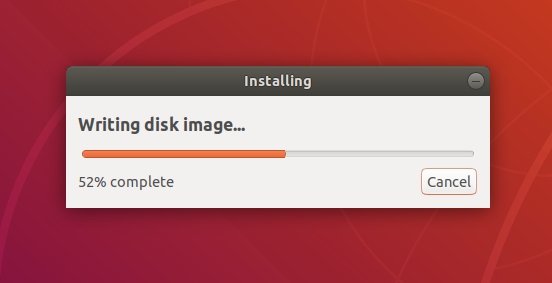
After confirming, the write process will start and a progress bar appears.
6. Installation complete

That’s it! You now have Ubuntu on a USB stick, bootable and ready to go.

Using Ubuntu Console

  1. sudo umount /dev/sdX (where sdX is your USB stick)

  2. sudo dd if=/path/to/ubuntu.iso of=/dev/sdX bs=1M (where ubuntu.iso is the downloaded file and sdX is the USB stick)

Installing Ubuntu

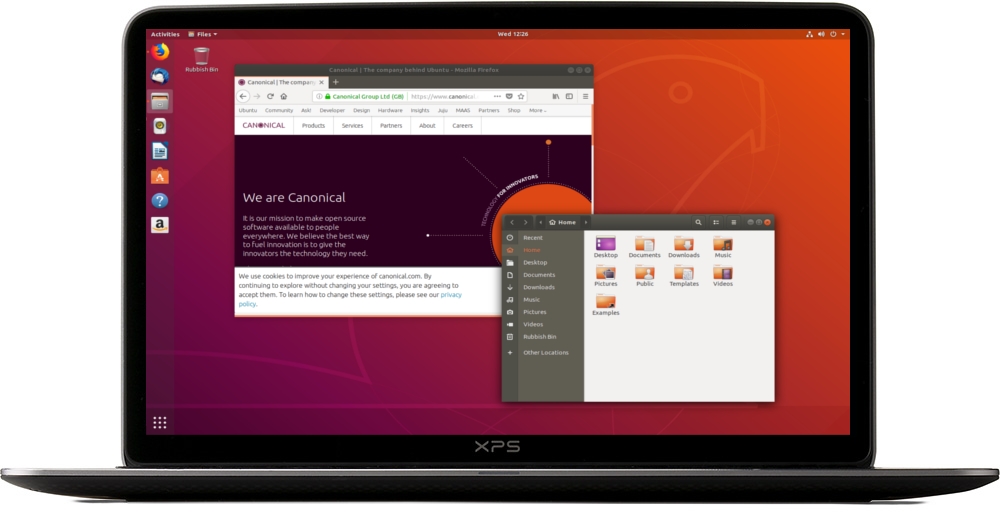
Laptop Ubuntu desktop
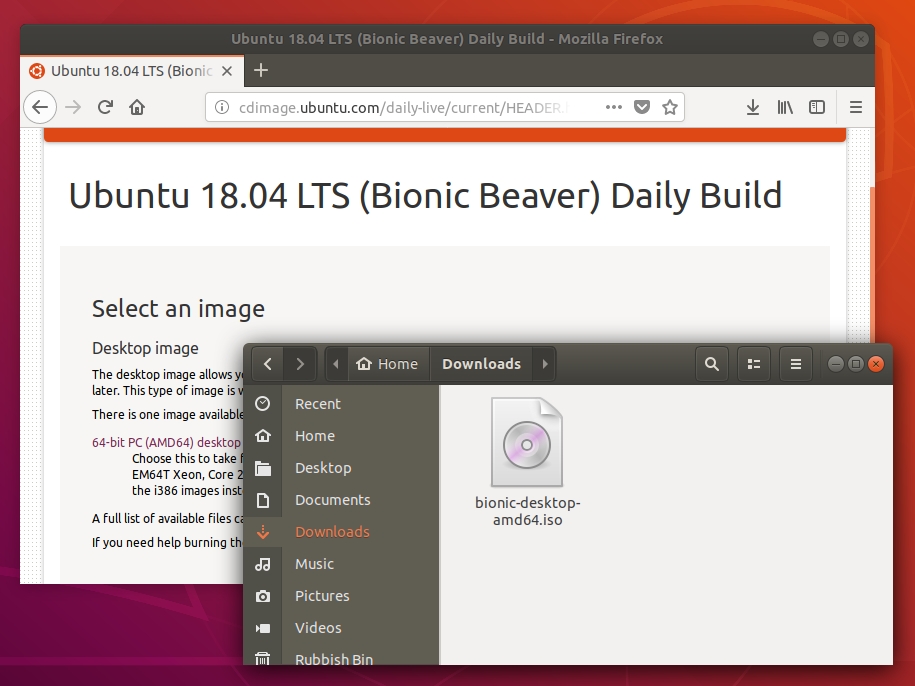
Download an Ubuntu ISO
Search for Startup Disk Creator
Click on Make Startup Disk
USB write progress
USB write complete

After the USB installation media is created by one of the methods from above please continue to install or

Ubuntu 18.04 LTS
Ubuntu 20.04 LTS
https://rufus.ie
Scroll to the Download section. Click on Rufus Portable link as marked in the screenshot below.
Click on Rufus 3.13 Portable
File download begins and progress can be seen. After download is complete please click on "Open file".
You can either select Yes or No. We recommend No.
Rufus Main Window
Insert your USB drive that you wish to make Ubuntu bootable. Rufus should list it in the Device section.
Now click on the SELECT button as marked in the screenshot.
A File Explorer window pops up. Please select the Ubuntu 18.04 LTS iso image and click Open.
Click on the START button to start the process.
Click on Yes so that Rufus can download additional files needed to continue.
Leave the option to Write in ISO Image mode selected and click OK.
Last WARNING before Rufus DELETES all data on the USB stick. Click OK to continue.
Rufus should start making your USB drive Ubuntu bootable. It should take a few minutes.
Once it’s done, you should see the READY status. Now close Rufus and your USB drive is ready.